EPANET is a widely used hydraulic and water quality modeling software that is capable of simulating water distribution systems. While the software can be run using the provided executable file, some users may want to compile the GUI themselves to make customizations or improvements. This article will walk you through the steps of compiling the Graphical User Interface (GUI) for EPANET using Delphi Community Edition.
Thanks to Oscar Vegas Niño for creating a guide in Spanish, which was of great help when I first attempted to compile the EPANET GUI.
Step 1: Download the source code
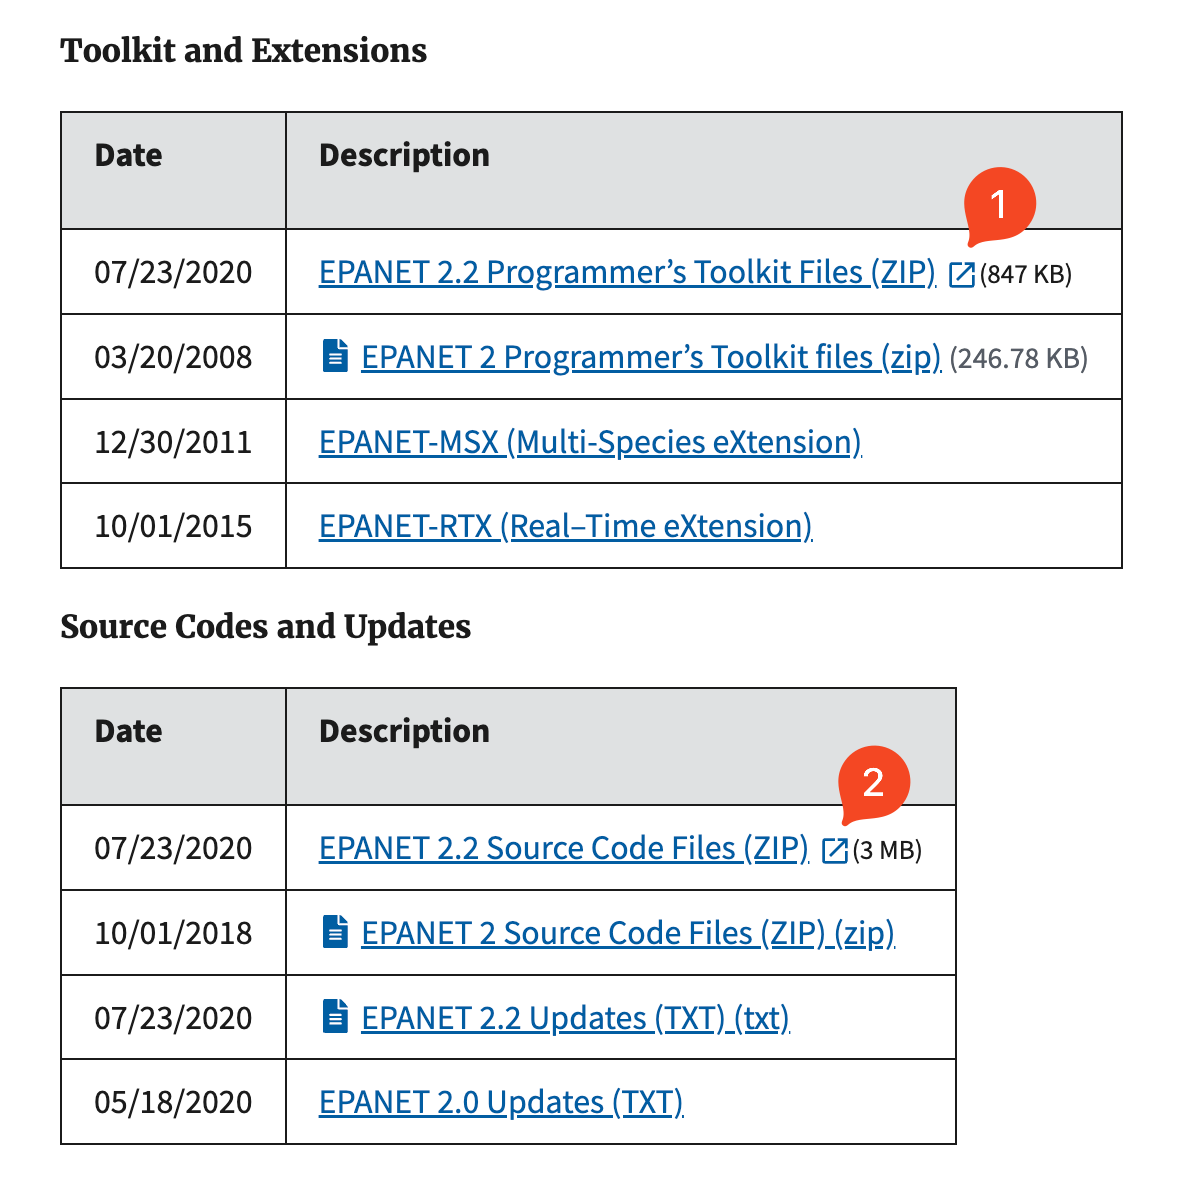
First, download the EPANET 2.2 programmer’s toolkit and the source code files from the EPANET website. Extract these zip files to your local drive.
Download: EPANET Source Code
Step 2: Download Delphi Community Edition
The EPANET GUI is written in Pascal, so you will need to download the Delphi Community Edition from the Embarcadero website. You will need to register and provide your email address to receive a serial code.
Download: Delphi Community Edition

Step 3: Install Delphi
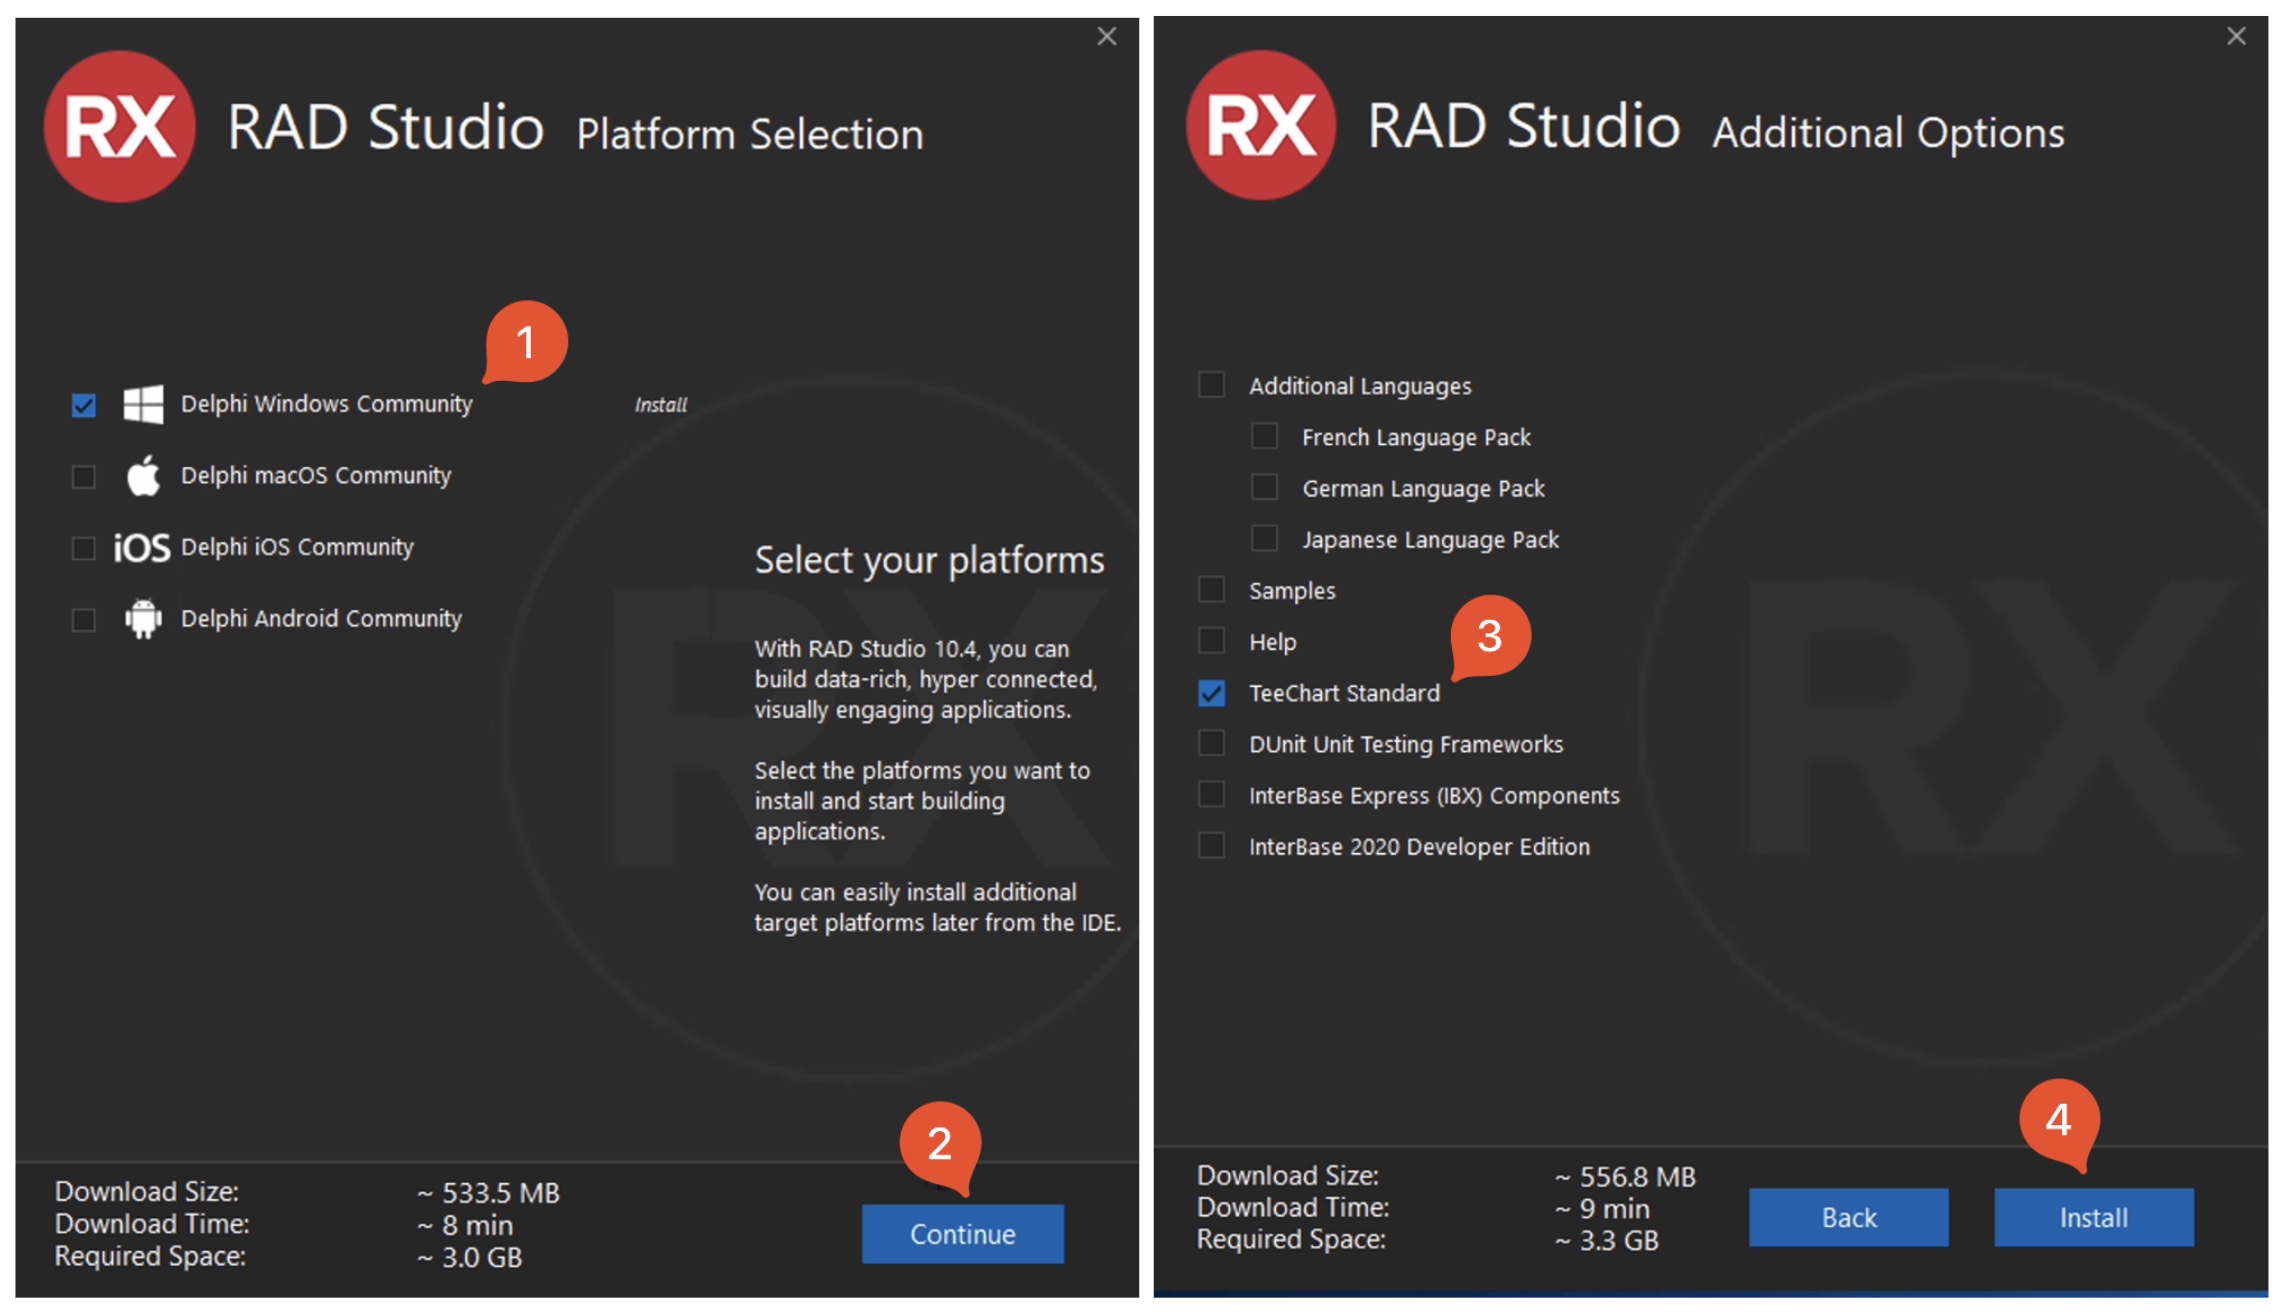
Once you have downloaded the installer, run it and select “I already have a product serial number”. Enter the serial number sent to your email and proceed with the installation. When prompted for what to install, only select “Delphi Windows Community” and deselect anything else. Then, select “TeeChart Standard” from the additional options and press install.
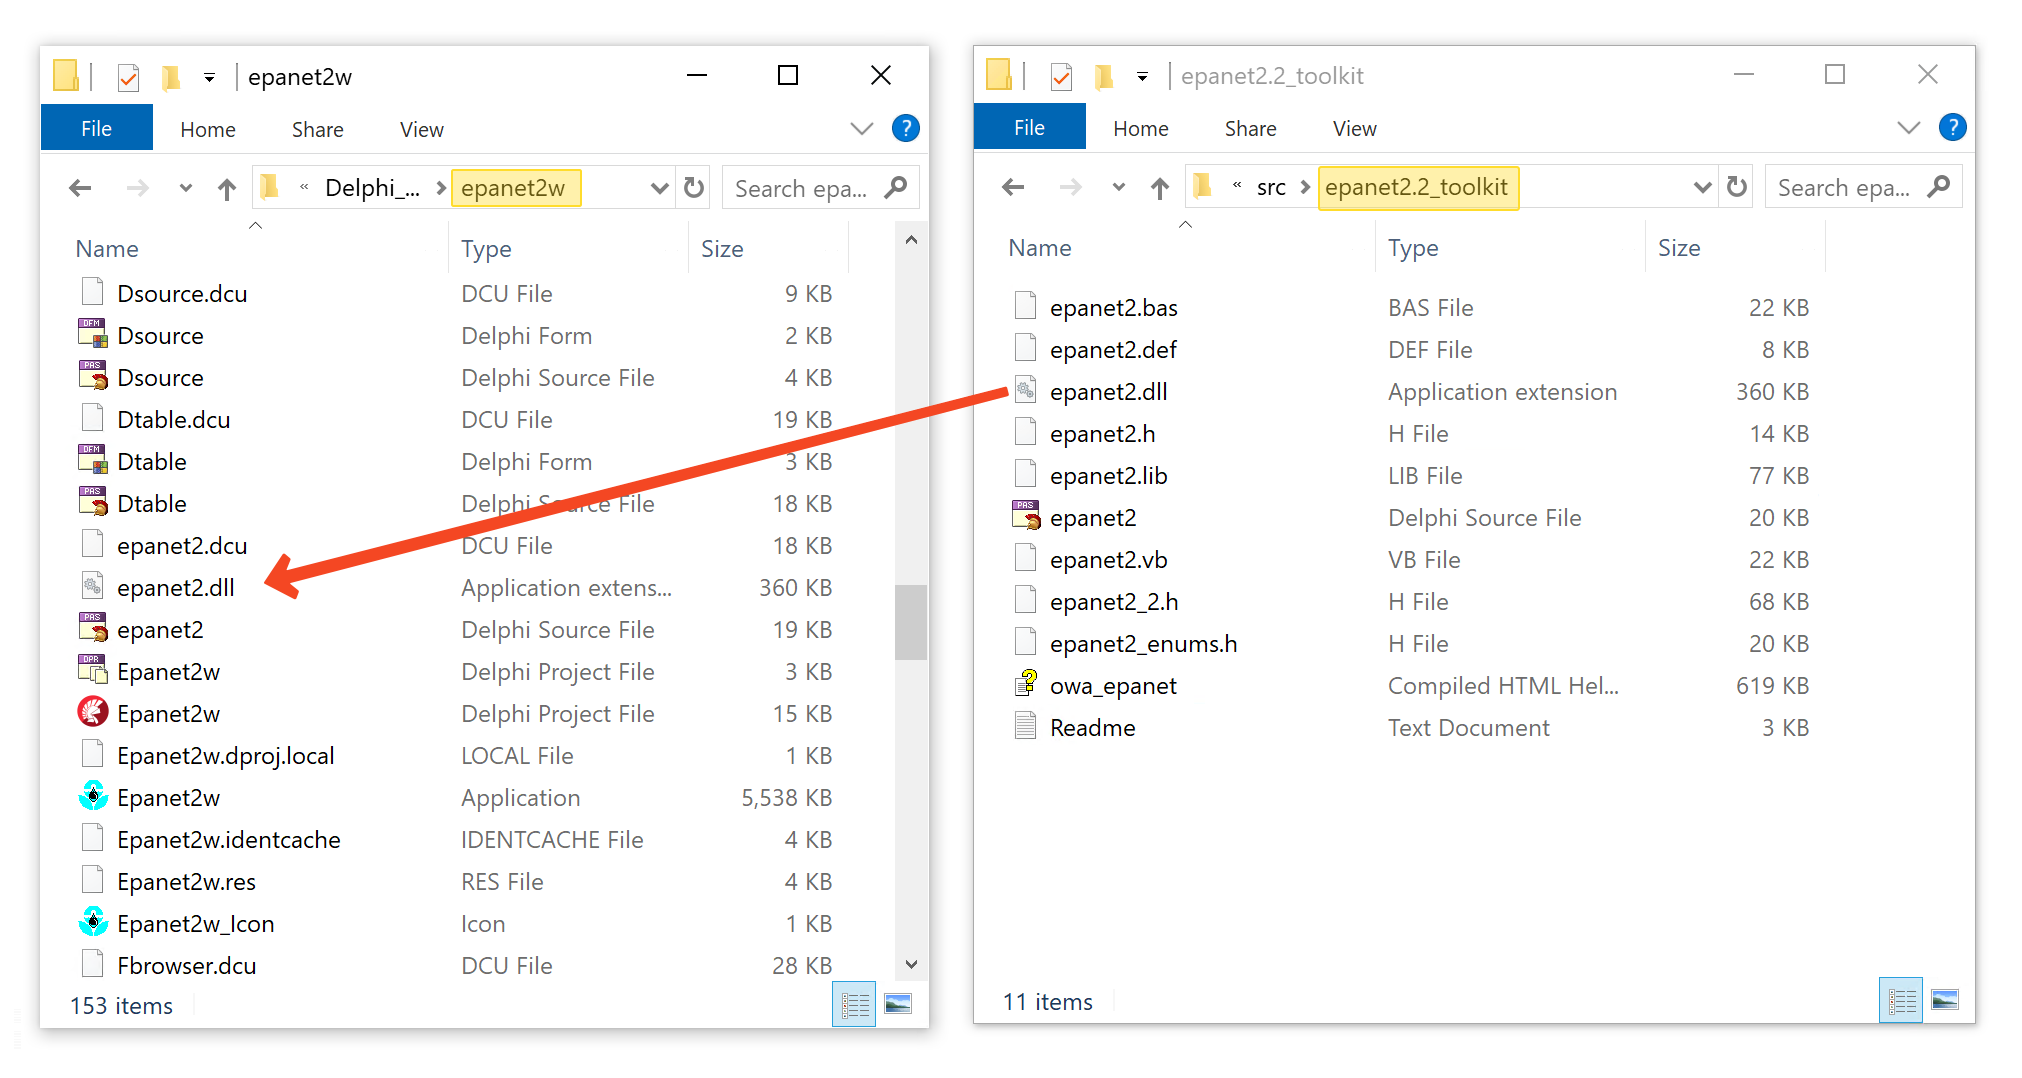
Step 4: Copy the toolkit DLL
In the GUI source code you downloaded, there will be a folder called Delphi_GUI which contains another folder called epanet2w. Inside the toolkit folder, there will be a DLL called epanet2.dll. Copy the DLL into the epanet2w folder.
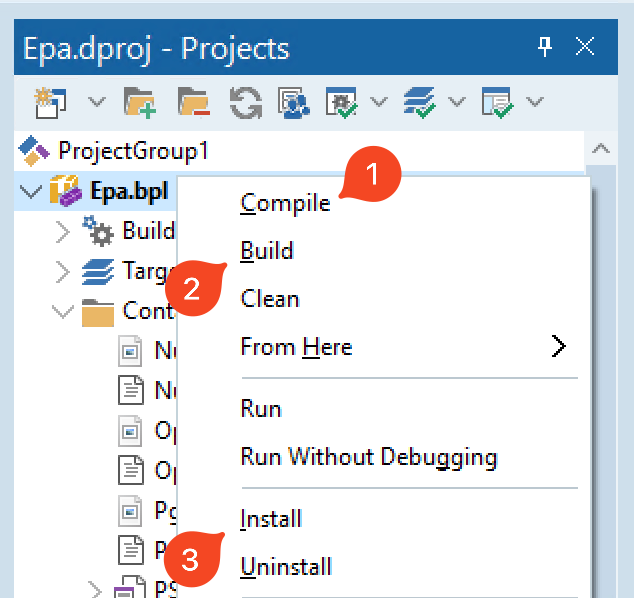
Step 5: Compile and install the components
Inside the Delphi_GUI folder, there will be two folders, “components” and “epanet2w”. The components will need to be compiled, built and installed first. Go into the components folder and open Epa.dproj. This will load the Delphi IDE. Right-click on “Epa.bpl” and first select Compile, then right-click again and select Build. Finally, right-click again and select Install. This will create a folder named Win32 inside the components folder, which we will need to link to the GUI source code. You can now close the Delphi IDE.
)
Step 6: Configure the components
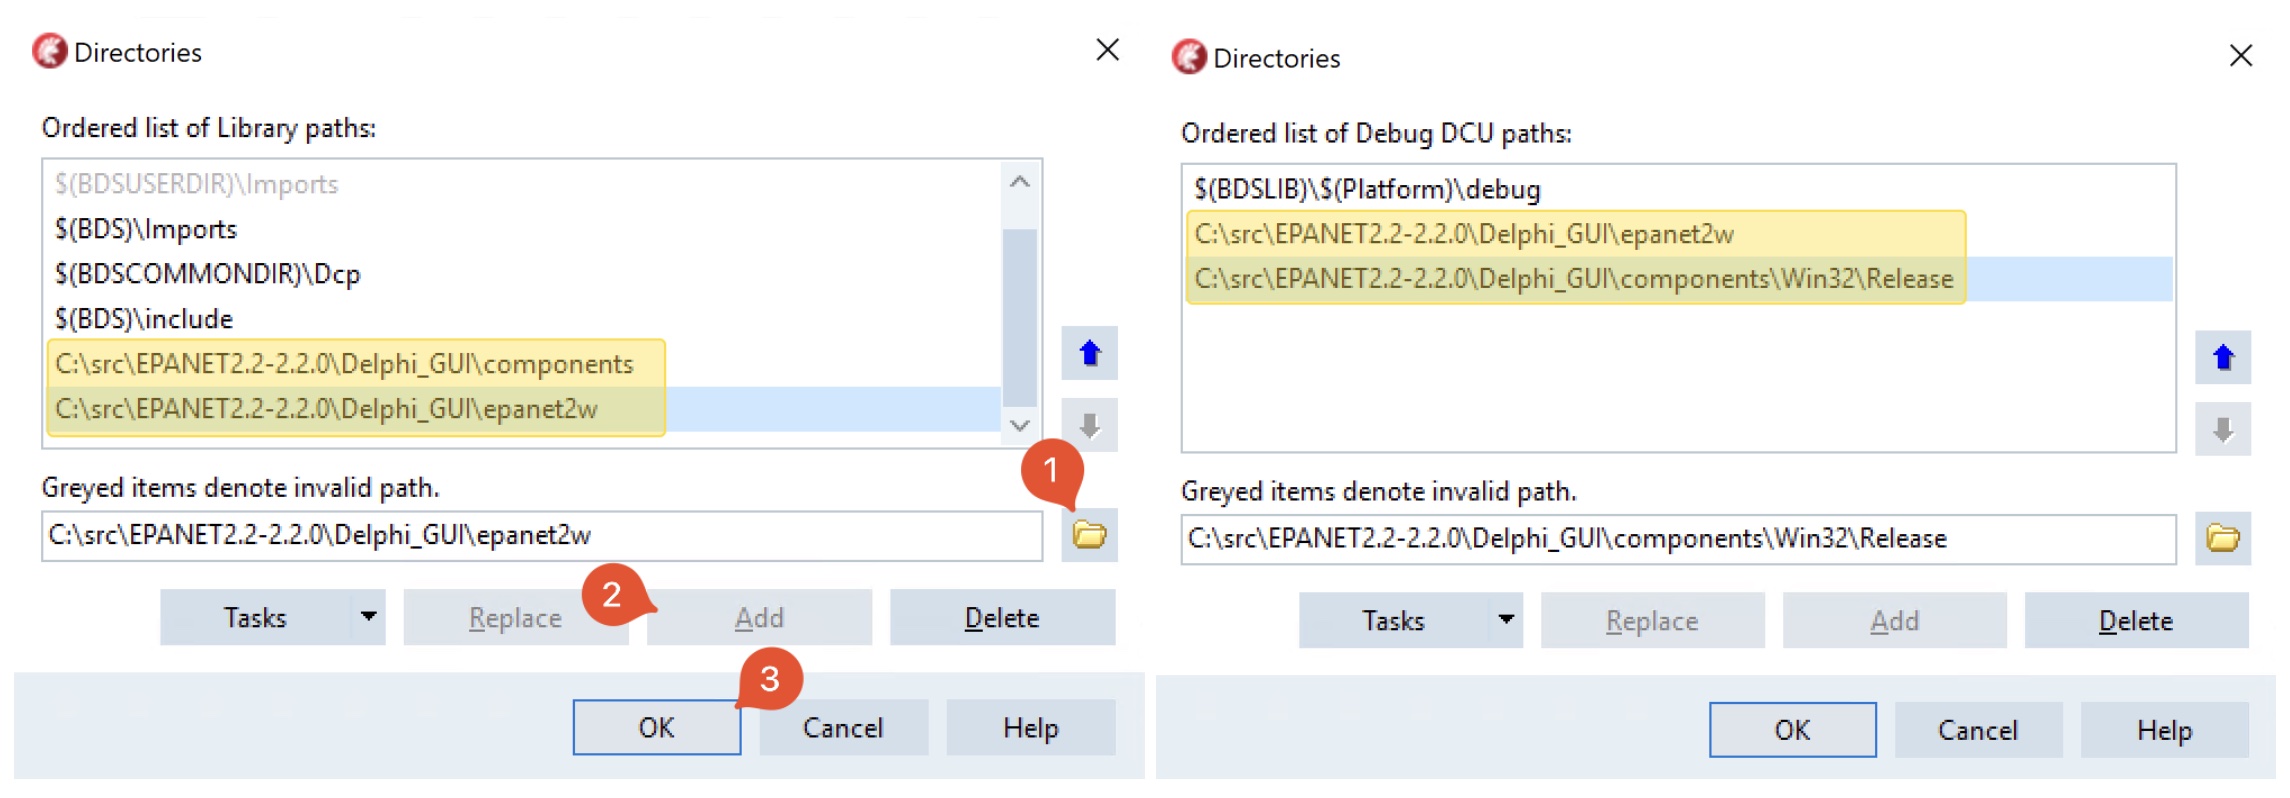
Navigate to the epanet2w folder and open Epanet2w.dproj to reopen the Delphi IDE. Configure the components by selecting Tools from the toolbar and then Options. In the Options menu, select Language > Delphi > Library. Add folders to Library path and Debug DCU path.

Select the three-dot button next to Library path, select the browse folder button, and navigate towards the Delphi_GUI\epanet2w folder. Press add and then repeat with Delphi_GUI\components. Press the three buttons next to Debug DCU path and add the folder Delphi_GUI\epanet2w and Delphi_GUI\components\Win32\Release.
Step 7: Compile and run EPANET
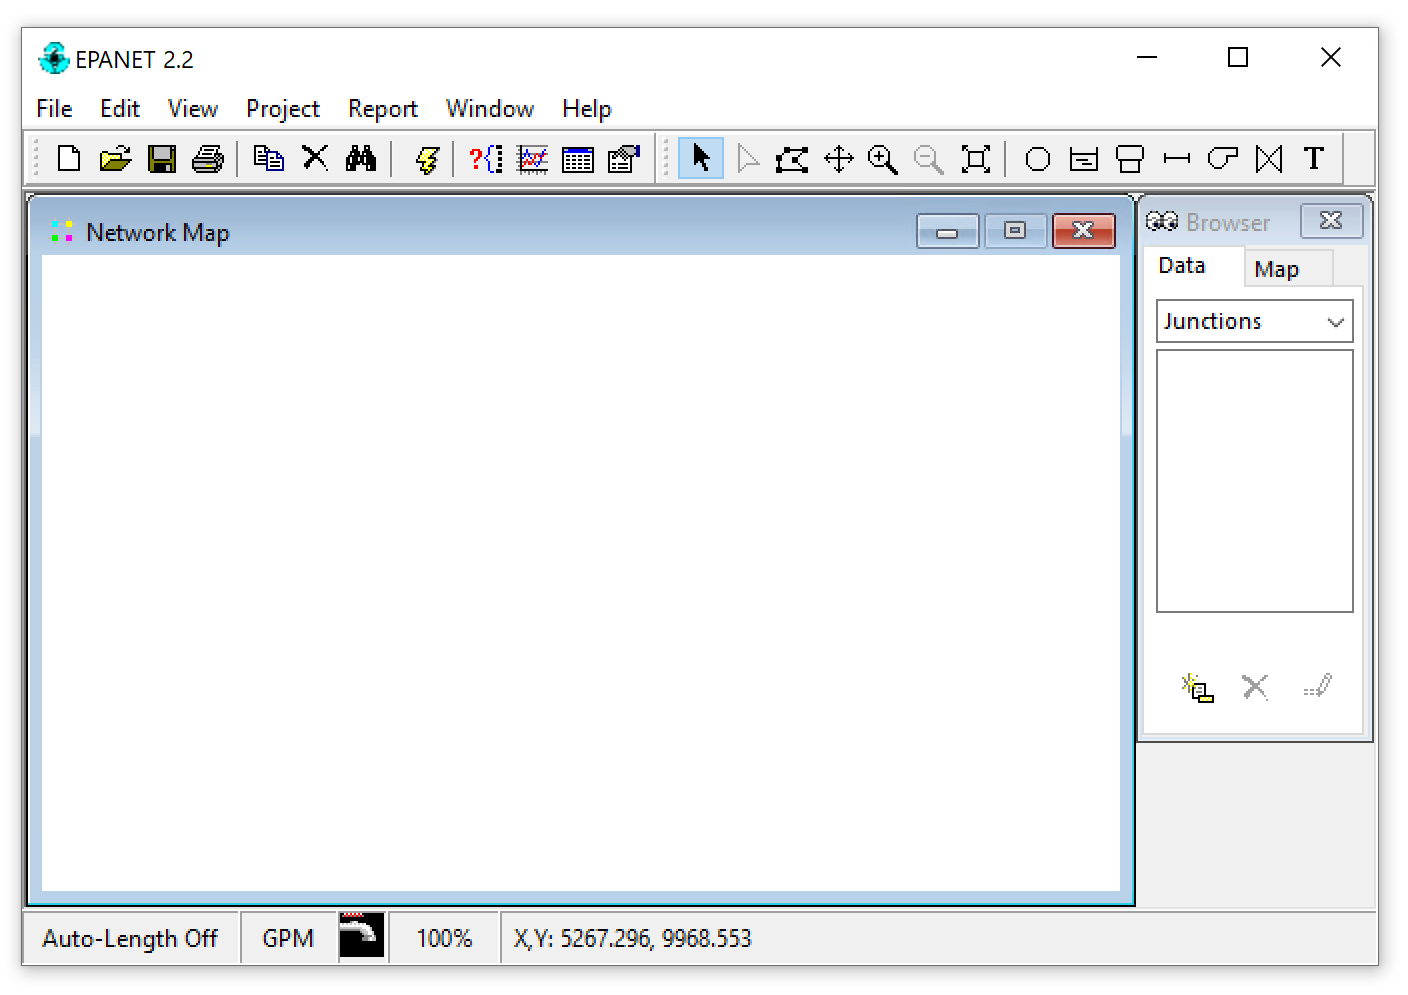
Once the configuration is complete, you can compile and run EPANET by pressing the play button on the toolbar. This will open EPANET, and the compiled exe will be located in Delphi_GUI\epanet2w.

Conclusion
Compiling the GUI for EPANET using Delphi Community Edition may seem intimidating at first, but following these simple steps will help you achieve your goal. Once you have successfully compiled the GUI, you can begin customizing and improving EPANET to suit your needs.